Apr. 24, 2015 by tvunguyen
These are the instructions on how to modify the Testimonials page under Career at Wesleyan on the Human Resources website.
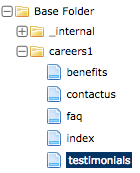
Step 1: Navigate to Human Resources, find careers1 > testimonials.
Step 2: Go to Edit in the page you just navigated to. Each block will have these fields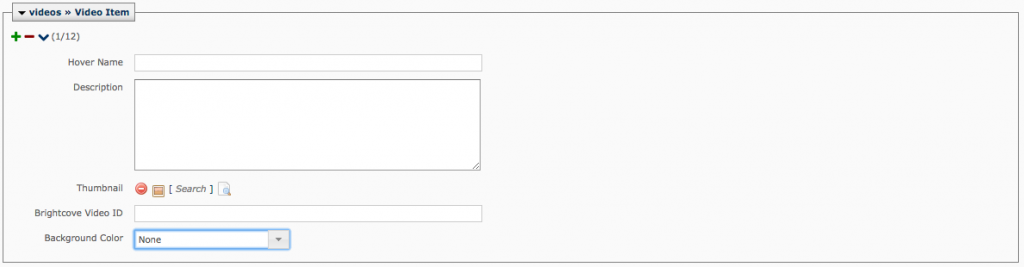
There are usually two options for each block you are editing:
1) Make it a solid-colored background with hover text in the middle like this:

- Fill in Hover Name.
- Fill in Description (which will appear when you hover the mouse over the block).
- Leave Thumbnail blank.
- Leave Brightcove Video ID blank.
- Choose Background Color.
2) Put in a thumbnail image for the block with a video link embedded like this:
- Leave Hover Name blank.
- Fill in Description (which will appear when you hover the mouse over the block).
- Choose a Thumbnail by clicking
 and choose the image (size 225 x 125) you want to use as thumbnail (usually from the images folder).
- Fill in Brightcove Video ID with the Brightcove ID of the video you want to link to.
- Leave Background Color blank.
Step 3: Hit Submit down below the page when you are done editing to submit the changes.
Posted in syndicated-posts
Apr. 15, 2015 by Karen Warren
The Portfolio will be down for 10 minutes at 10 PM on Friday, April 17th for maintenance. We apologize for any inconvenience.
Posted in maintenance, syndicated-posts
Apr. 10, 2015 by Karen Warren
There was a brief interruption to EPortfolio today between 12:50 and 1:10. ITS has addressed the problem however there are applications within EPortfolio that are not currently working:
- Wesleyan Network Guest Computer account tool to create guest accounts that can login to Wesleyan-owned computers (such as labs and library). Right now you will not be able to use the EPortfolio > Wesleyan Network Guest Computer accounts application. This application only creates guest accounts to login to computers owned by Wesleyan. Guest wireless is completely separate and is working fine. Any existing guest accounts will continue to work.
- Password Manager – users will not be able to change their password in EPortfolio this weekend. If you need to have your password changed, please contact ITS for assistance.
- Parent account login for EPortfolio – students who have created accounts for their parents to login to EPortfolio should be aware that those parent accounts are not working.
All of these applications are expected back online on Monday, April 13.
Posted in syndicated-posts, Urgent
Apr. 3, 2015 by tvunguyen
This documentation will guide you through the necessary steps to update byline entries on the Wesleyan President page.
Step 1. Navigate to the President section of Cascade

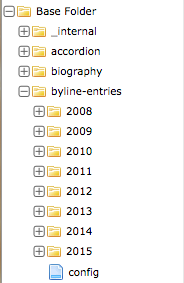
Step 2. Expand the “byline-entries” folder. Bylines are organized into different folders according to their respective year.
Note: A “config” file exists under these folders. More on this in later steps.
Step 3. Navigate to an existing folder (or create a new one inside “byline-entries” via New > Folder found on the blue horizontal toolbar above) that holds bylines of the year you wish to update. Example here shows bylines of the year 2008.

Step 4. While in the desired folder, create New > Byline
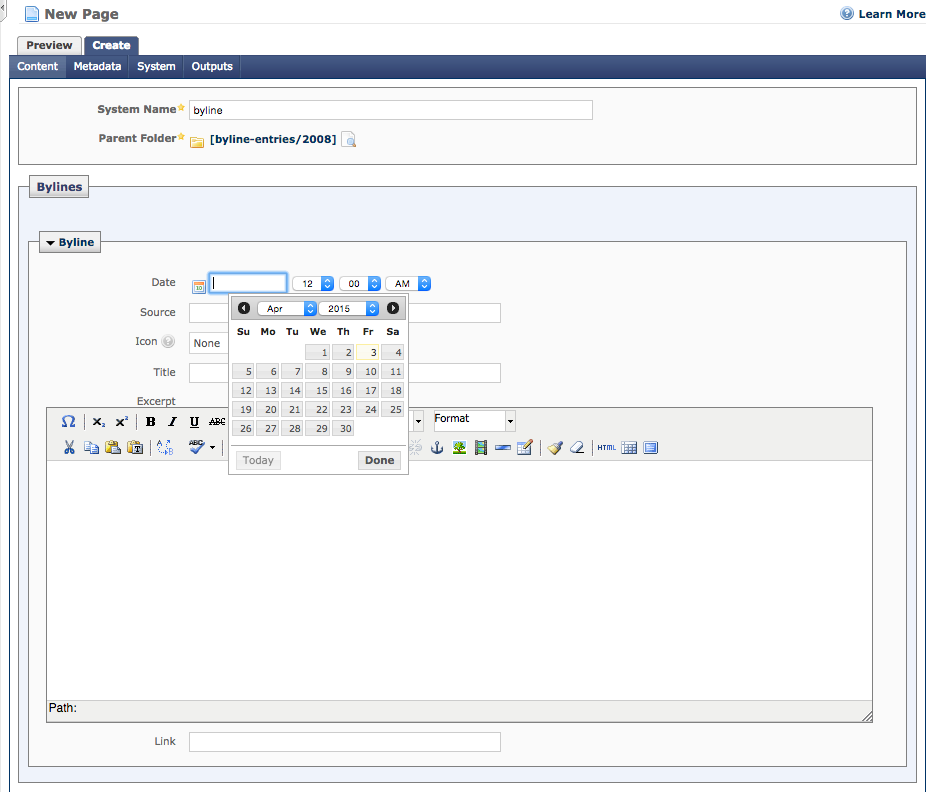
Step 5. Fill in the information:
- System name: The name of the byline displayed in Cascade. This should be similar to the name of the article or interview referred to in the byline, only with dashes (-) instead of blank spacing between words.
- Date: Date and time of publication for the byline.
- Source: Where the information was retrieved from i.e The Huffington Post, The New York Times, etc.
- Icon: Choose “Radio” or “TV” if the byline was in a kind of broadcast, “None” for other cases.
- Title: Title of the article or interview you wish to enter.
- Excerpt: Brief description of the President’s byline.
- Link: Link to the original web-source.
Step 6. Click “Submit” when you are done editing.
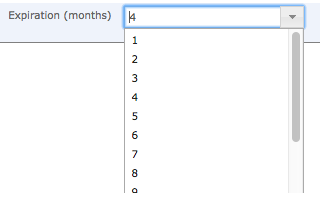
Step 7 (Optional). Change how a post is considered a “new byline.” Now on the President page, only bylines within the last 4 months are displayed, and the rest goes to the archive. To change this, edit the “config” file mentioned earlier. In “Expiration,” choose from the drop-down menu to set the desired number of months as the “expiration date” for bylines.
Posted in syndicated-posts, Training
ITS is aware that VPN access is currently down. We’re working on the issue and will provide updates as more information becomes available.
Posted in syndicated-posts, Urgent
Mar. 30, 2015 by tvunguyen
The Studio Art Thesis Archive (http://learningobjects.wesleyan.edu/artthesis/) was originally built in 2008 by Ryan Lee (under the guidance of Philip Isaacs) and re-built in 2012 by Jason Vienneau in the New Media Lab at Wesleyan University. It is built in PHP and pulls in the data from the Media Database. The site lives on the Learning Objects production server (stronggood).
The archive includes studio art majors since 1980 and can be viewed by name, by year, and by concentration. When a listing of names is greater than 20, an alphabar appears at the top of the page to aid with navigation. When one chooses an artist’s name a gallery of images appears. Breadcrumb navigation is available across the site.
How to update the Studio Art Thesis Archive
by Mariah E. Reisner, Feb. 2012
Updating list of studio concentrations
- Go to the Media Database http://www.wesleyan.edu/its/mediadb
- Choose “Catalog and Collect” link on the left to login to Media Database Workspace
- Choose “Work with Media” from the top yellow bar
- From the drop-down at the top, choose the collection or group (by year)
- Click Info
- Click “Add Info to Media”
- Edit “Description” field to be proper concentration
- Click “Apply Changes” at bottom of window
Rotating images from horizontal to vertical (notes from Dan Schnaidt 2/12)
- Go to the Media Database http://www.wesleyan.edu/its/mediadb
- Choose “Catalog and Collect” link on the left to login to Media Database Workspace
- Scroll to the bottom and select “Studio Collections”
- Select a collection (each concentration/year is a collection) to work with from the drop-down menu
- Next to the appropriate image, select a rotation from the drop-down menu (90 degrees, 180 degrees, 270 degrees) as needed. All rotations are clockwise.
- Select Yes or No (for inclusion in the slideshow). This field will be used to signal completion and must have a value chosen.
- Click Submit at the left top or bottom of the screen to save
- Advance to the next set of 15 images by selecting from the drop-down menu
- Repeat until done.
Note that you will be working on a copy of the Studio collections data. Once all the changes have been made, they will be processed to update the live Studio collections data. The image rotations will only display when the data is processed. Any changes made directly in the Media Database to the Studio collections will be wiped out when the data is copied, so we want to be careful not to edit directly in the Media Database until the rotations and selections are completed and processed.
**Note from MER – this application does not appear to be running at this time.
Adding new artists/years/images
Per 2/6/12 email with Dan Schnaidt – he will personally train those who will be updating/adding new artists/years/images to the database. Contact dschnaidt@wesleyan.edu or call x2608 directly for more assistance.
REVISION HISTORY
Current version of this document is located on WesFiles:
New Media Lab Labshare documentation art-thesis-archive-user-documentation.doc
- 2-13-12: Initial Release, MER
Posted in syndicated-posts
Mar. 24, 2015 by Karen Warren
UPDATE: ITS resolved the issue that interrupted logging into wireless for about 20 minutes.
ITS is working on a problem affecting logging into wireless. Active connections are fine and continue to work, but those trying to login and connect are being denied. We are actively working on it and expect resolution shortly.
Posted in syndicated-posts, Urgent
Mar. 13, 2015 by Karen Warren
UPDATED: ITS has resolved the issue that caused the disruption to Exchange email accounts.
———–
ITS is working on a problem that is affecting email for many users. We will continue to update Facebook and Twitter as information becomes available.
Posted in syndicated-posts, Urgent
Mar. 10, 2015 by Karen Warren
ITS is working on a hardware problem that is affecting wireless throughout campus. Note this is NOT planned maintenance and a failure we are addressing.
Posted in syndicated-posts, Urgent
Mar. 9, 2015 by tvunguyen
(Note: This tutorial was made using Adobe Photoshop CS5, but earlier/later versions of Photoshop should have only cosmetic differences; the mechanics of image resizing and cropping should be the same.)
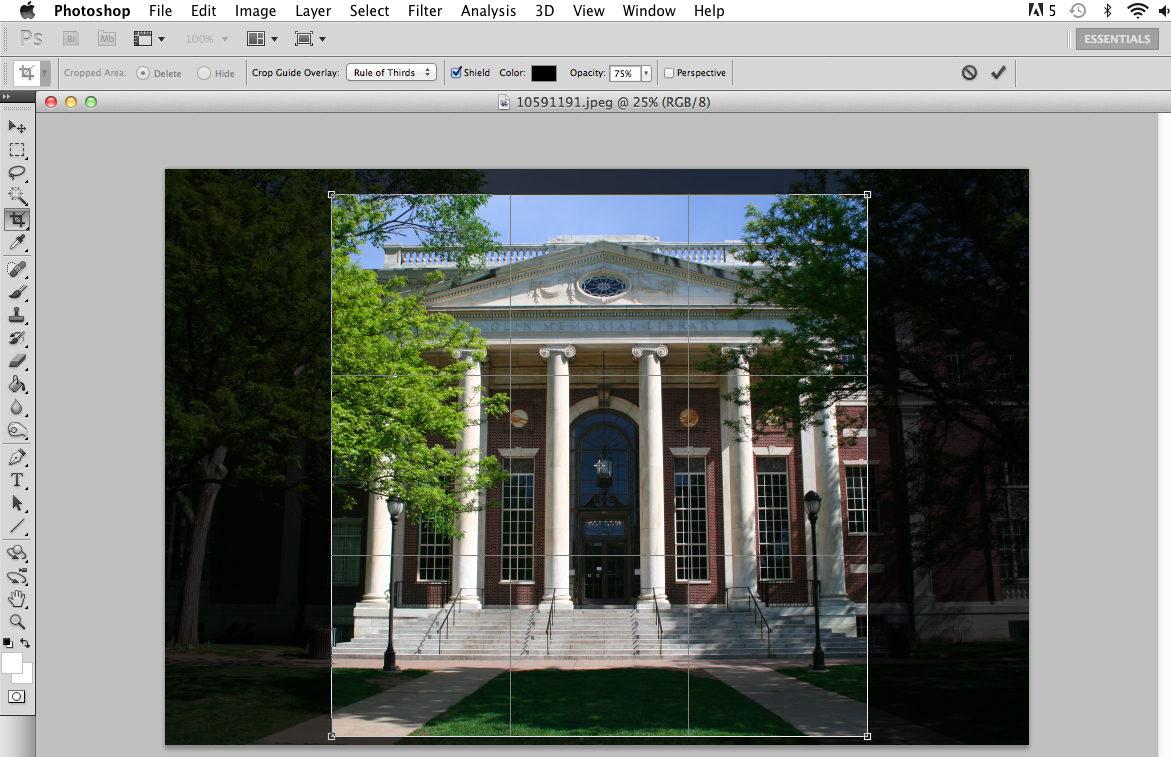
Cropping Images
1. Open the image in Photoshop.
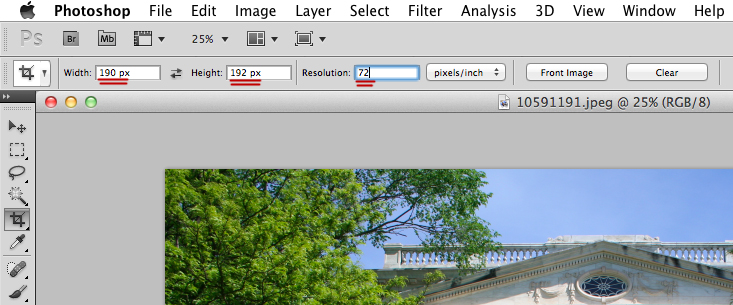
2. Select the “Crop” tool from the lefthand toolbar.

3. Lock the dimensions of the cropped area by changing the width and height of the tool in the upper toolbar, keeping the “Resolution” field at 72 pixels/inch. See below for which dimensions to set.

The size will depend on where the image will be located.
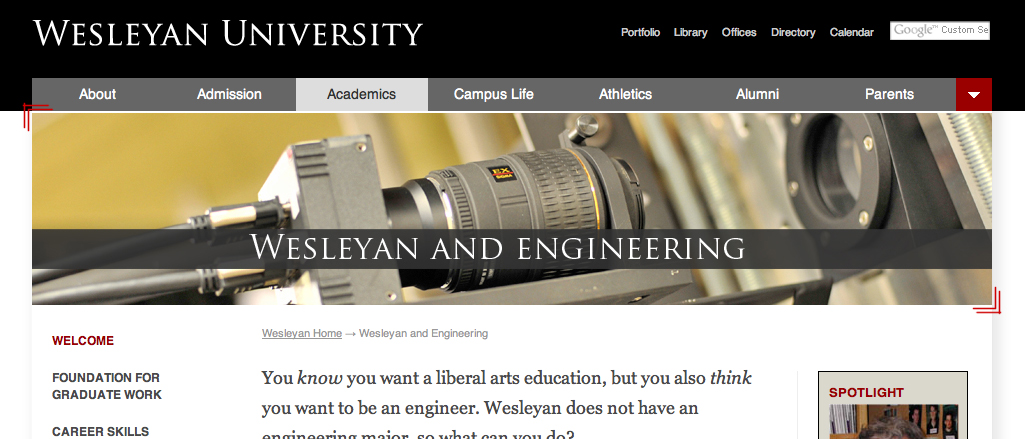
- 3a. If it will be a single-photo banner as seen below, the crop tool should be specced to 960 x 192 px (960 pixels wide and 192 pixels high).
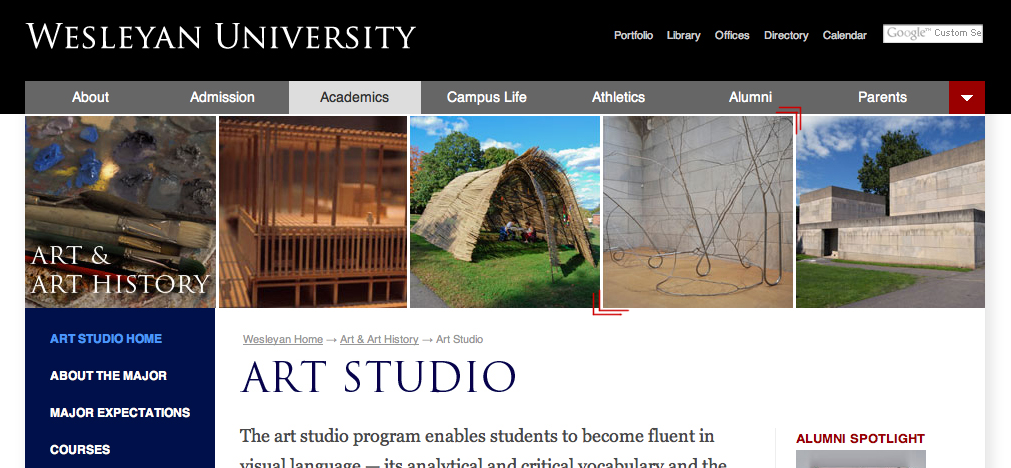
- 3b. If it will be one of 5 squares in a banner as seen below, the crop tool should be specced to 190 x 192 px.
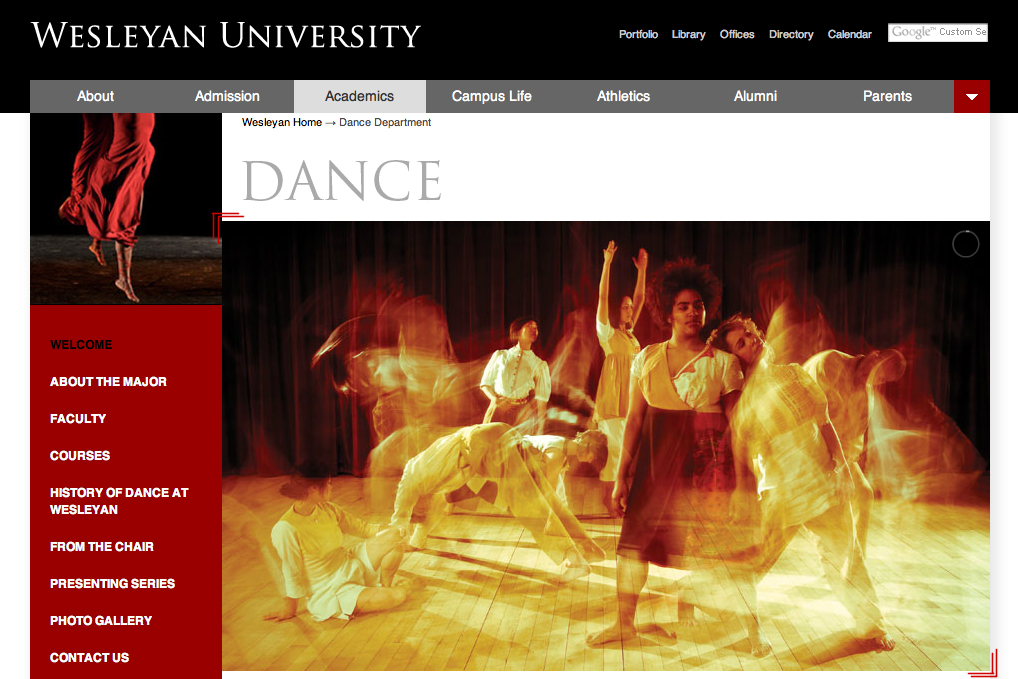
- 3c. If it will appear in a gallery as seen below, the crop tool should be specced to 500 x 350 px.
4. With the dimensions set, click and drag over the original image to select the area of the new image. The frame will snap to the dimensions you have specified; you can also click and drag the corners of the crop square to adjust the image. Photoshop will gray out the areas to be cropped out to give you a preview of what the new image will look like.
5. Press Enter to finalize the crop.
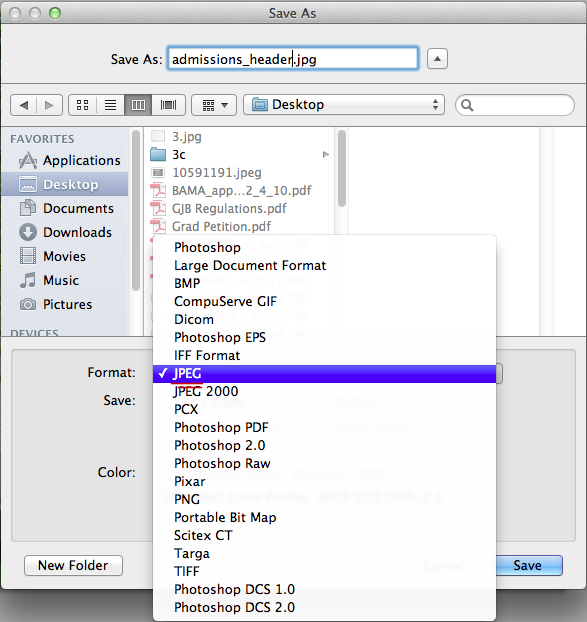
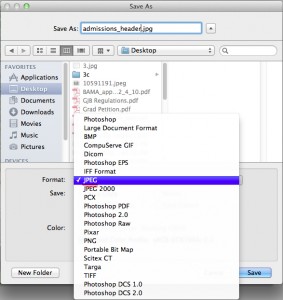
6. Save the image as a JPEG.
6. Follow these directions to upload the image to Cascade.
Posted in syndicated-posts, Training