Mar. 9, 2015 by tvunguyen
(Note: This tutorial was made using Adobe Photoshop CS5, but earlier/later versions of Photoshop should have only cosmetic differences; the mechanics of image resizing and cropping should be the same.)
Resizing Images
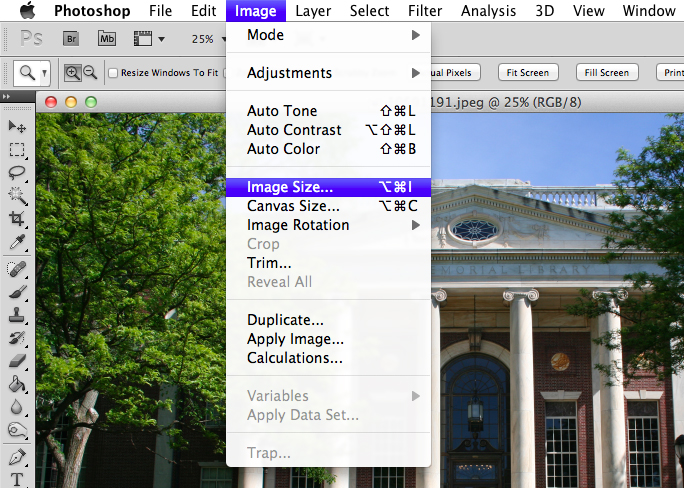
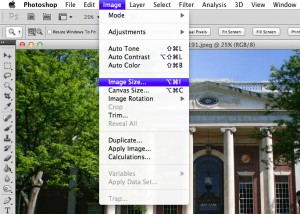
1. Open the image in Photoshop.
2. From the “Image” dropdown, select “Image Size.”
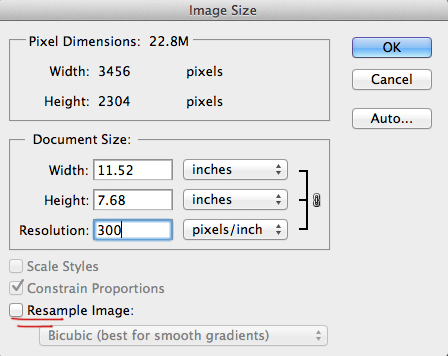
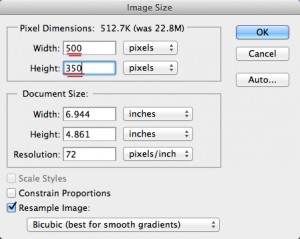
3. Make sure that the resolution is set at 72 DPI. If it is already at 72, skip to step 4. If not…
- 3a. Un-check the “Resample Image” box.
- 3b. Making sure that the “Pixel Dimensions” field has been grayed out, change the Resolution field to 72 pixels/inch.
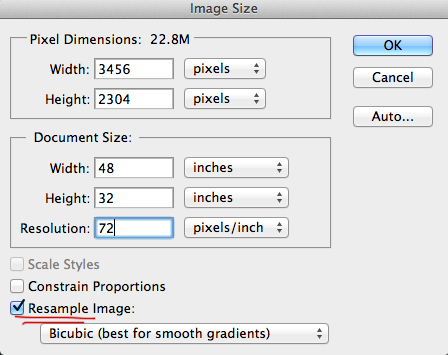
- 3c. Re-check the “Resample Image” box.
4. Now you will have to change the dimensions of the image in the “Pixel Dimensions” field. The final size of the image will depend on where it will be located.
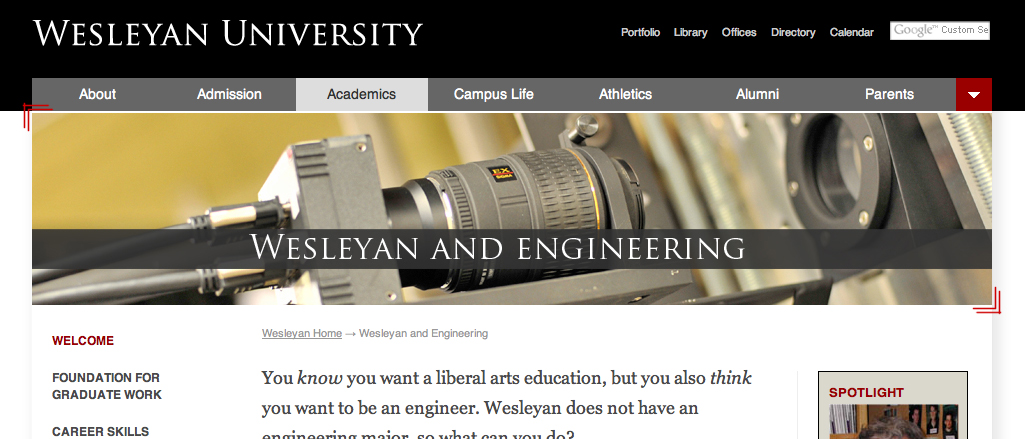
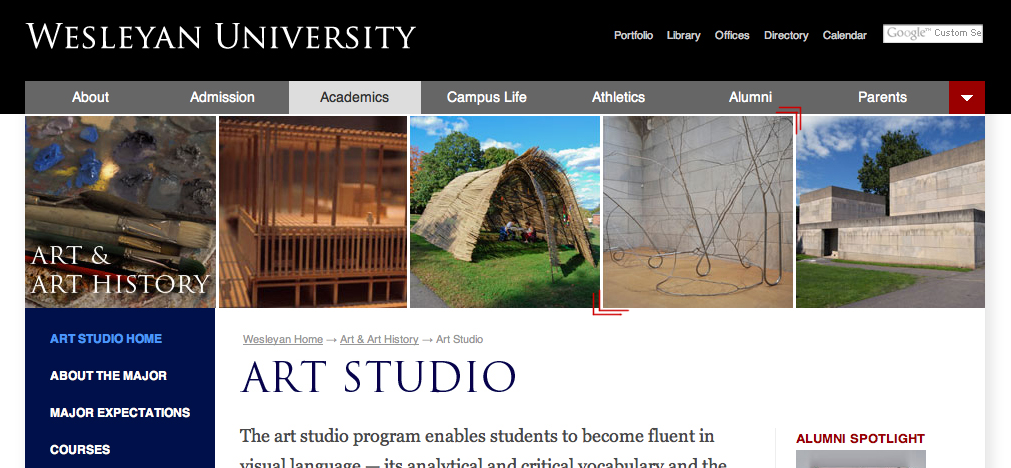
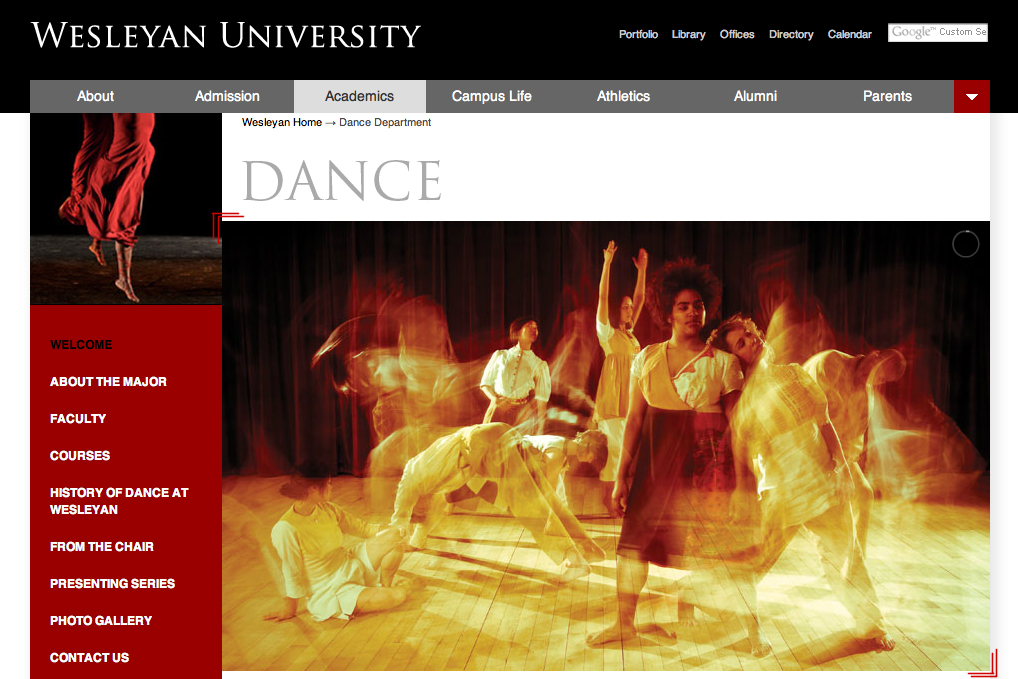
- 4a. If it will be a single-photo banner as seen below, the image should be resized to 960 x 192 px (960 pixels wide and 192 pixels high).
- 4b. If it will be one of 5 squares in a banner as seen below, the image should be resized to 190 x 192 px.
- 4c. If it will appear in a gallery as seen below, the dimensions are 500 x 350 px.
5. With “Constrain Proportions” unchecked, change the dimensions. If this warps the image, then you will need to crop it instead of simply resizing it.
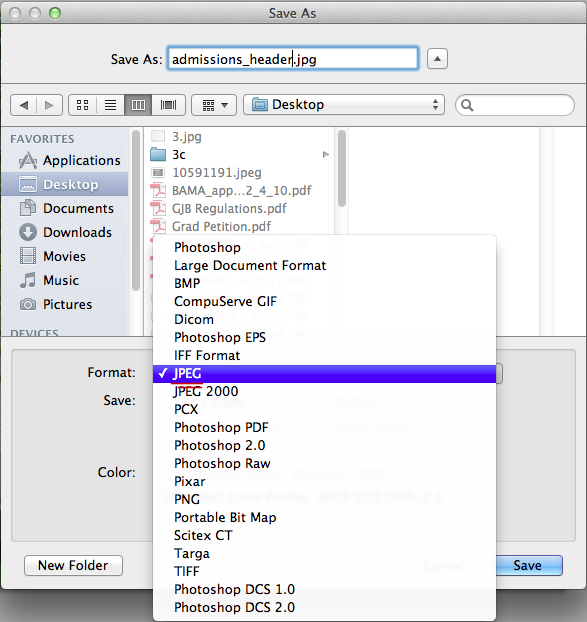
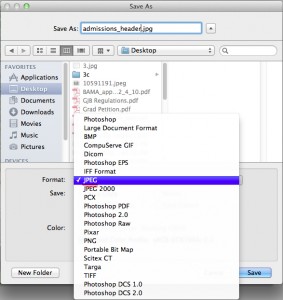
6. Save the image as a JPEG.
6. Follow these directions to upload the image to Cascade.
Posted in syndicated-posts, Training
Mar. 5, 2015 by Karen Warren
On Saturday, March 14, between 7:00 and 11:30 am, ITS will be performing system maintenance that will interrupt wireless access throughout campus. The actual downtime is expected to be 2 hours, however we plan additional time for troubleshooting.
If there are any issues that will require a longer window, we will notify the community via email, Facebook and Twitter.
Karen Warren
Director of User and Technical Services
Posted in maintenance, syndicated-posts
Feb. 27, 2015 by tvunguyen
This tutorial will walk you through the steps necessary to make changes to the header slideshow on a page. If you do not need to upload new images, skip to Step 2.
Step 1 – Uploading the images you want to use:
- Navigate to the Base Folder of the site and go to image_header > images

- Upload the images:
- For single images:
- On the blue bar above, select New > File or Image
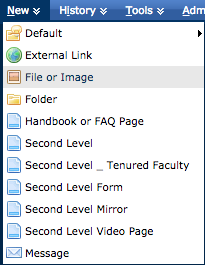
- Drag and drop the image into the gray box
- Hit Submit
- For multiple images
- Create a .zip file of your images
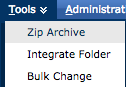
- On the blue bar above, select Tools > Zip Archive
- Drag and drop the .zip file you just created into the gray box
- Hit Submit
Step 2 – Setting the images in slideshow to new images:
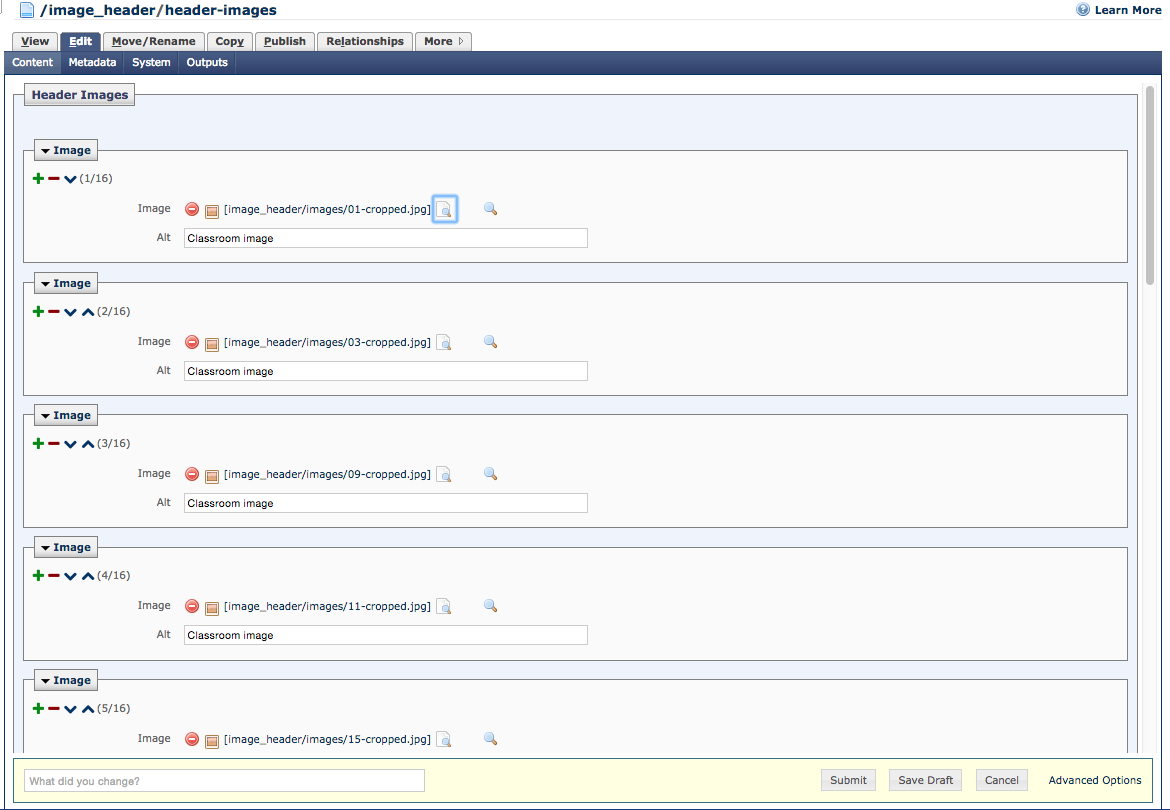
- Under the image_header folder you just visited earlier, click on header-images and select Edit tab

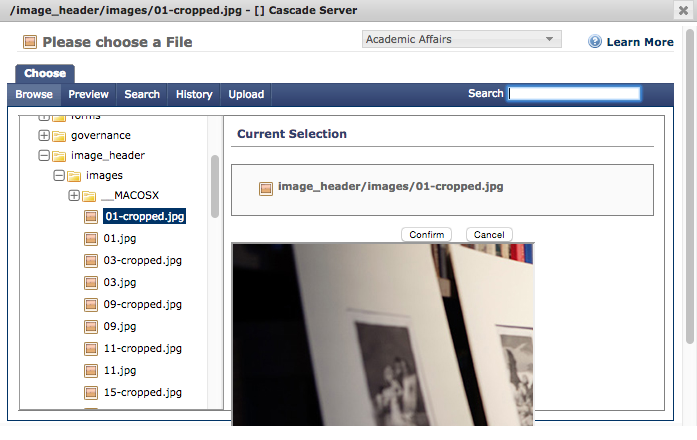
- Right beside each image link there is a Browse button that will let you choose another image to be in its place. Navigate to where you have uploaded the image (under the images folder), choose the image and hit Confirm
- You also have the option to delete existing images (using the red Minus button) or adding new ones (using the green Plus button) and re-order the images (the two Up/Down arrows) to the left of the image link
- Continue making changes to the existing images if necessary, and hit Submit when you are done modifying
Step 3 – Re-publishing: Republish header_images and the page that you have edited to make the changes live
Posted in syndicated-posts, Training
Feb. 26, 2015 by tvunguyen
General
The video aggregate web application is populated through the Brightcove Video Cloud (https://videocloud.brightcove.com). Static content areas can be modified through Cascade Server (https://cascade.wesleyan.edu). Rules mapping collections to tags can also be modified through Cascade. After tagging in Brightcove, the Brightcove API can take up to 15 minutes to update completely.
All videos must be tagged with the word “public” to show up on the site. Videos must also be contained within the NML account or shared with this account (http://support.brightcove.com/en/video-cloud/docs/media-sharing).
Home Page (http://video.wesleyan.edu)
Featured Videos
This section displays a photo gallery of Video Stills from any videos tagged with the word “featured”. This is displayed in the order of most recently published. There must be at least one featured video.
Recent Videos
This section on the home page is automatically generated from the Brightcove system. It displays the last twelve published videos that contain the tag “public”. If a video needs to be hidden from this section, apply the tag “hidefromhome”.
Search
Any video tagged with the word “public” will show up in the search results even if it does not belong to a Collection. Searches will find matches in the display name, short description, long description, and tags.
Collection Pages
Collections can be managed through Cascade Server under the Video Aggregate site on the page collections. When editing the page, each collection will have a Tag and Collection Name. The Tag will match what is tagged in Brightcove, and the Collection name will become the menu item, header, and links on the Video Aggregate site. Videos can belong to multiple collections.
Current tags for collections (subject to change)
academics
admission
alumni
arts
athletics
campus
events
faculty
students
Detail Pages
Detail pages will display the embedded video, title, short description, long description, and the first three related videos. If the video belongs to any collection, it will be shown on this page as well.
Long Description
Brightcove does not allow for HTML formatting in the long description field. The Video Aggregate site will interpret new lines as breaks(<br />) and carriage returns as paragraphs(<p></p>). URL’s will also be automatically converted to hyperlinks that open in a new window.
Posted in syndicated-posts
Feb. 24, 2015 by Karen Warren
ITS updated the security certificates on the wireless system today. As wireless users, you may notice your computer prompt you upon re-connection to airwes. The prompt you receive will depend on the kind of computer and version of operating system. For example, Macs will present you with the certificate to accept. Windows 7 will warn you of a new connection; when you click Connect it will re-establish the connection. Windows 8 will ask you if you want to continue connecting and give you the option to view the certificate. iOS devices may also prompt you with the new cert to accept. These prompts will happen only one time. This new certificate will last for three years.
As always, please contact Helpdesk or your Desktop Support Specialist via service.wesleyan.edu if you need any assistance.
Posted in syndicated-posts, Urgent
Feb. 11, 2015 by Karen Warren
VPN access was offline this morning from 7:45 to 9:00 am. Users attempting to connect in that time would have received an error message. The issue has been resolved and the service has been fully restored.
Posted in syndicated-posts, Urgent
Any Brightcove video can be added to a blog post or page. You can add multiple videos to a page or post, currently you can not add a playlist.
Install/Activate Plugin
- contact New Media Lab to activate and set up the Brightcove plugin for your blog
- put in a service request ticket at http://service.wesleyan.edu
- New Media Lab will contact you to let you know the plugin has been activated
Embed Video on Page/Post
- edit the page/post where the video will be embedded
- you can put text above the video and you can format it using the tool bar
- place the cursor where you want the video
- click the Add Media button

- select Brightcove from the Insert Media on the left
- fill in the Video number given to you by the person who created/uploaded your video
- it is a 13 code number similar to this: 3958280905001

- there is no submit button — press Enter to add the video
- on your post/page you will see the brightcove embed code
- similar to this:

- you can not see your video in preview mode
- you can:
- use the Preview button
- Save Draft then Preview
- Publish and look at page/post in production
- if you choose Draft, be sure to Publish when finished
Posted in syndicated-posts
Feb. 2, 2015 by Karen Warren
Stop by Usdan in the Daniel Family Commons lobby on Thurs, Feb 5 between 11:30 and 1:30 to visit our ITS Information Session. ITS staff will be alongside some of our partner colleagues from other departments to answer those nagging IT questions you have like What is the deal with Service Now? Can anyone on campus use GoToMeeting? and Who does what in ITS?
Join us as you come by for lunch as we try to de-mystify the myriad functions of ITS.
Posted in maintenance, syndicated-posts
Jan. 28, 2015 by Karen Warren
We learned that a configuration error resulted in faculty and staff who use Windows PC’s may have had their default printer set to a printer queue in the WSA office. The configuration has been changed, however please check your printers before sending any print job and verify your default printer. You can change the default printer back and the next time you restart the other printer will be gone.
To completely remove that printer you have two choices:
1. restart your computer
2. If you do not want to restart, you may do the following:
Go to Start, Run
type in cmd
A black window will open with a command prompt that looks like this: c:users(yourusername)>
type in that window gpupdate /force
Your computer will briefly say Updating policy….
Then it will say Computer Policy update has completed successfully.
User Policy update has completed successfully.
Any jobs that were printed to that printer in error have been removed and placed into the shredding bin by an ITS staff person.
This is a configuration mistake with potentially serious consequences. We deeply apologize for the error and are taking steps to ensure such mistakes do not occur again.
Posted in syndicated-posts, Urgent
If you have a faculty showcase on your site and would like to remove, add, or edit the page, here are some instructions on how to do so:
- First, if you have any new images to upload, navigate to the folder in your site that holds these faculty images.
- Each site is different—for Theater, for example, the images folder “slideshow-image” is nested under the “faculty” folder, while for Biology, the folder is simply “faculty-images”.
- When you upload your photo, be sure you also have a thumbnail version that is 55px by 75px. There should be an Asset under the “New” section of the toolbar that will make that thumbnail for you.
- After you’ve uploaded an image and have a thumbnail for that image, navigate to your faculty showcase page. If you have a hard time finding that page on your left-hand navigation tree, navigate to that page in Cascade through the view window that allows you to preview your site.
- When you’re on the faculty showcase page, hit “Edit” from the tabbed toolbar above the site preview window. You should see the following:

- On this Edit page, you will see the following options:
- A green plus (+) sign that allows you to add a new faculty slide.
- A red minus (-) sign that will delete an existing slide.
- Blue up and down arrows that allow you to change the order of the slides.
- “Faculty Name” field—add the name of your faculty member.
- “Faculty Title”—add the title of your faculty member.
- “Research Area”—serves as a place for you to add a description of the faculty member, not necessarily constrained to research.
- “Personal Website URL”—you can add a link to the faculty member’s own website
- “Photo”—Find the larger image that you originally uploaded for this faculty member.
- After you’ve made your changes, be sure to hit “Submit” at the bottom!
Posted in Department Guides, syndicated-posts, Training